Comparison: Ginzburg I vs. Ginzburg II
Remark: On these two projections,
«scaled to fit» and «scaled to same width» will be quite identical!
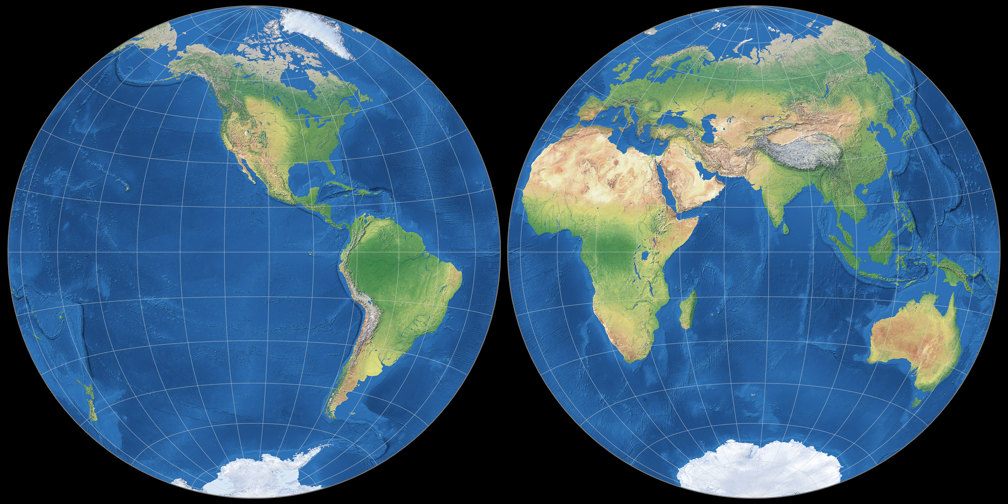
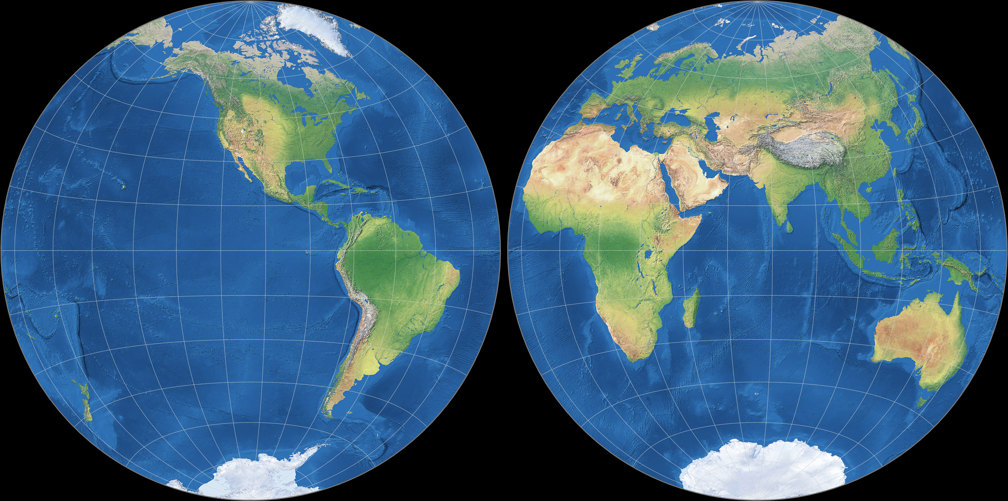
1. Comparison: Physical Map – scaled to fit
Ginzburg I

Ginzburg II
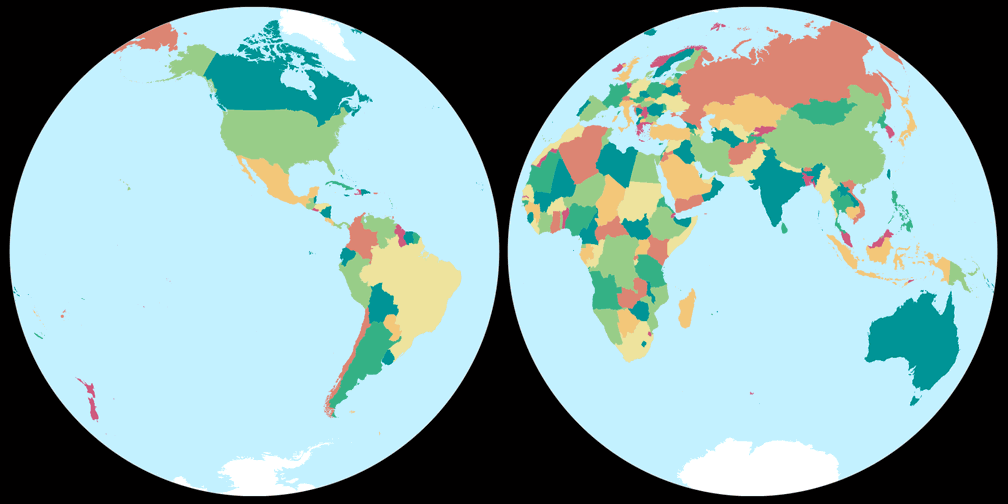
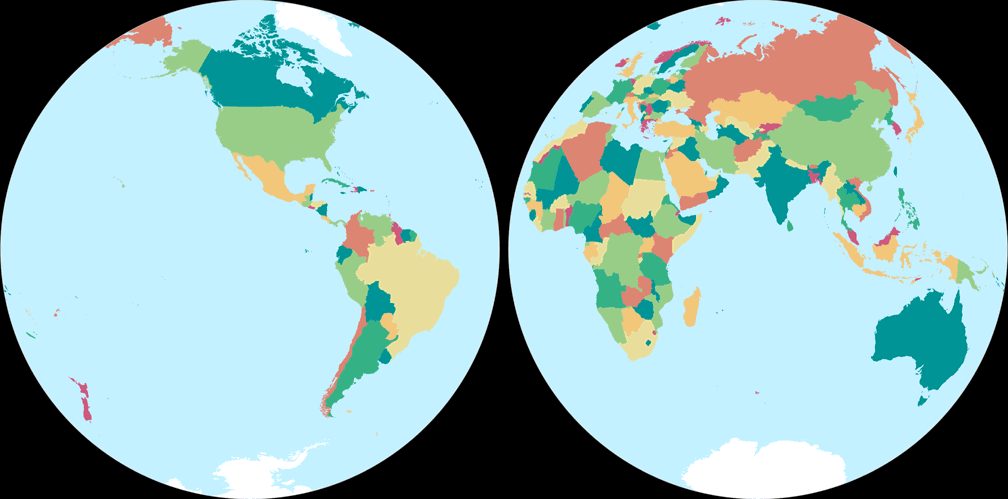
2. Comparison: Political Map – scaled to fit
Ginzburg I

Ginzburg II
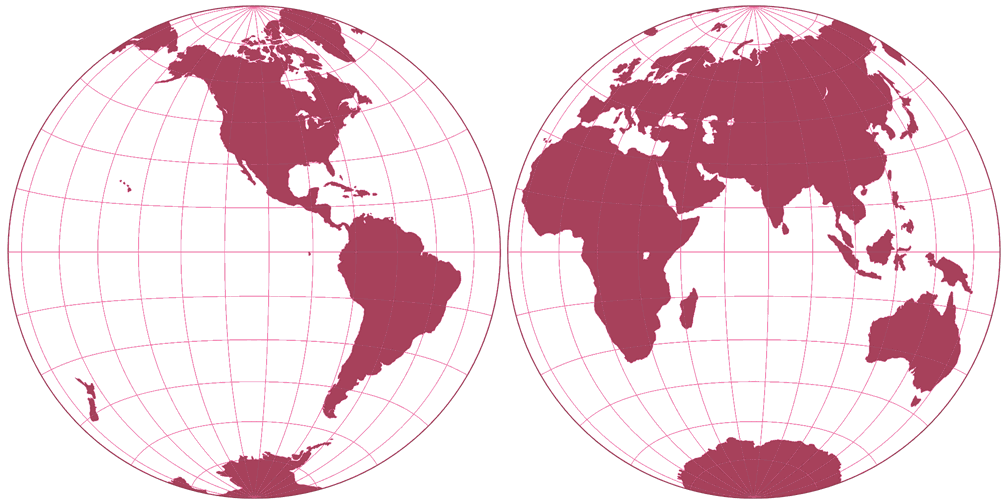
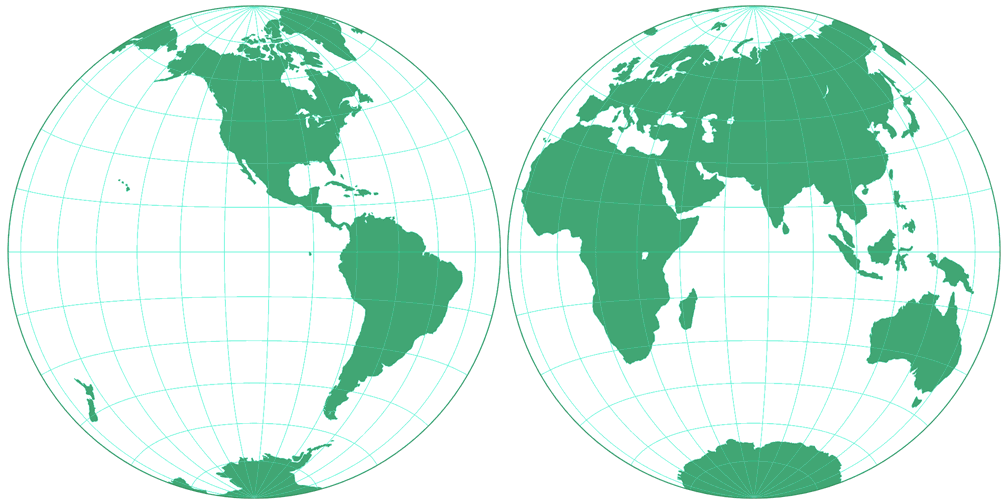
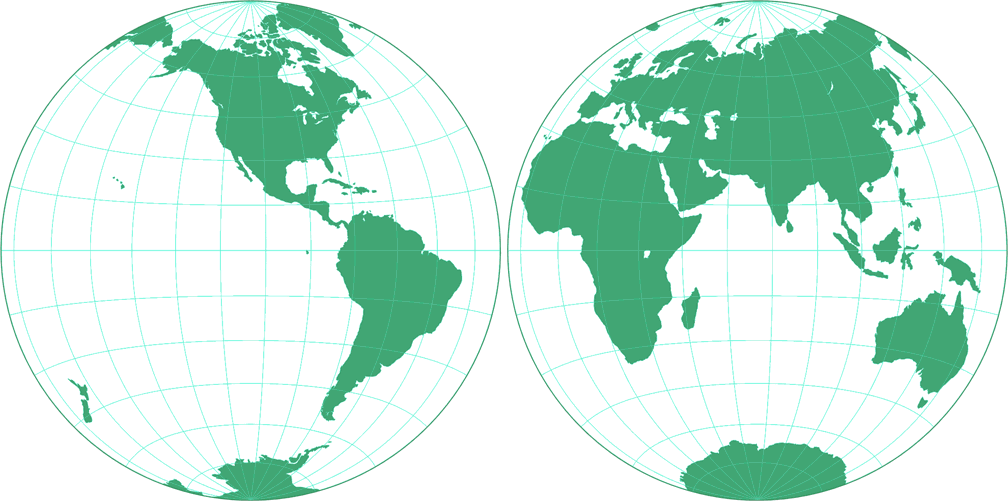
3. Comparison: Silhouette Map – scaled to fit
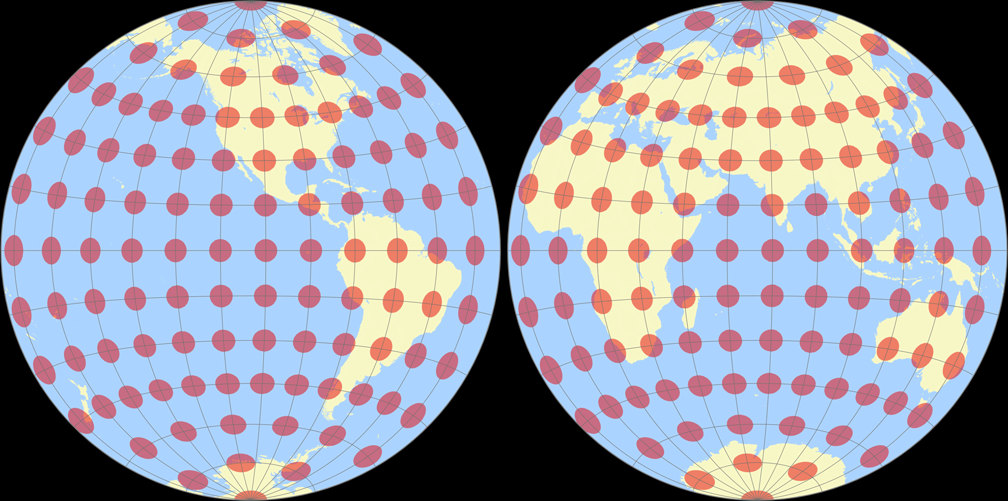
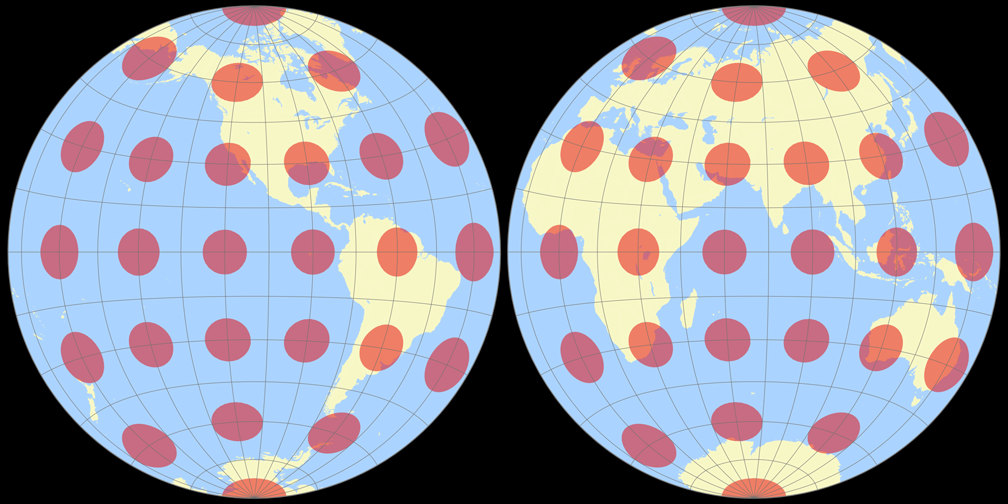
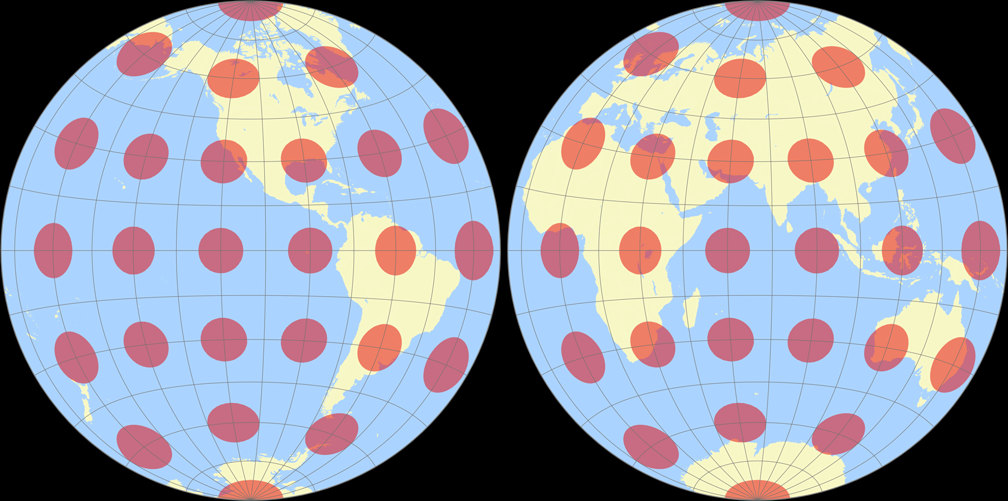
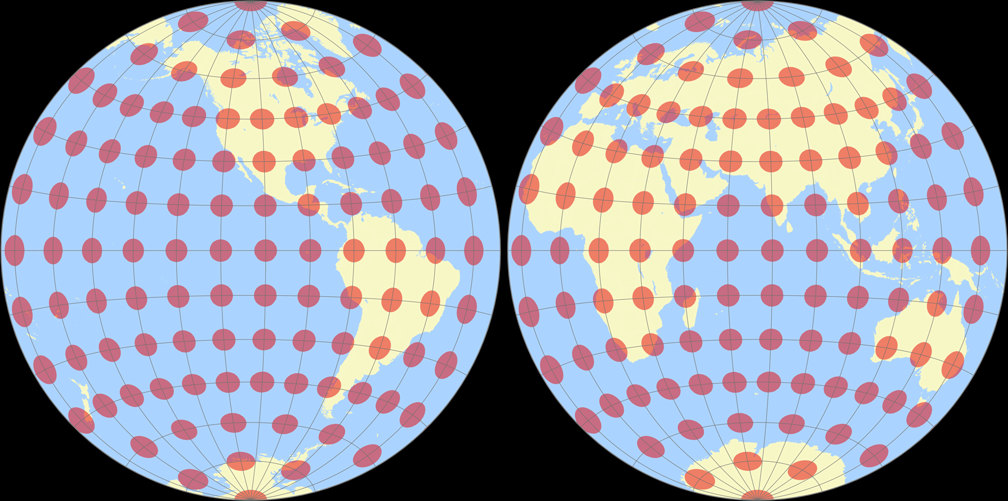
4. Comparison: Tissot Indicatrix, 30° – scaled to fit
Ginzburg I
Ginzburg II

5. Comparison: Physical Map – scaled to same width
Ginzburg I
Ginzburg II

6. Comparison: Political Map – scaled to same width
Ginzburg I
Ginzburg II

7. Comparison: Silhouette Map – scaled to same width

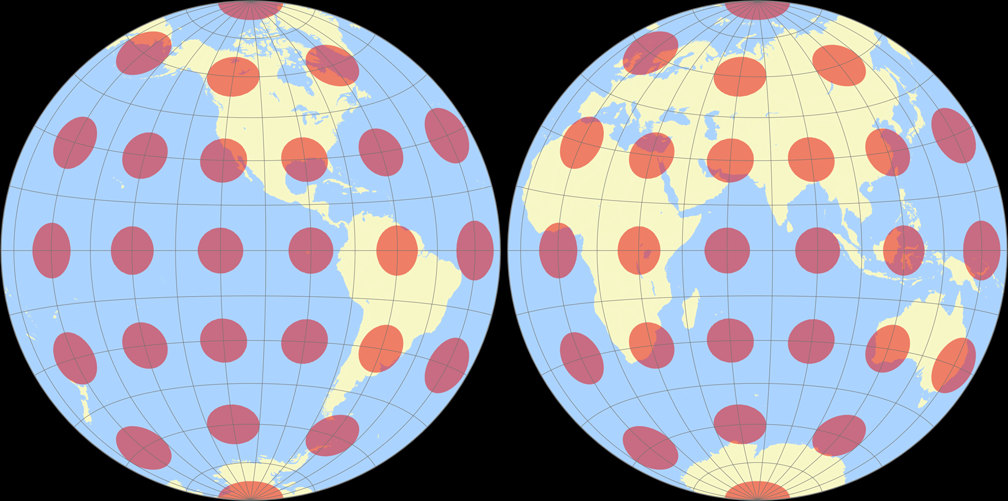
8. Comparison: Tissot Indicatrix, 30° – scaled to same width
Ginzburg I
Ginzburg II
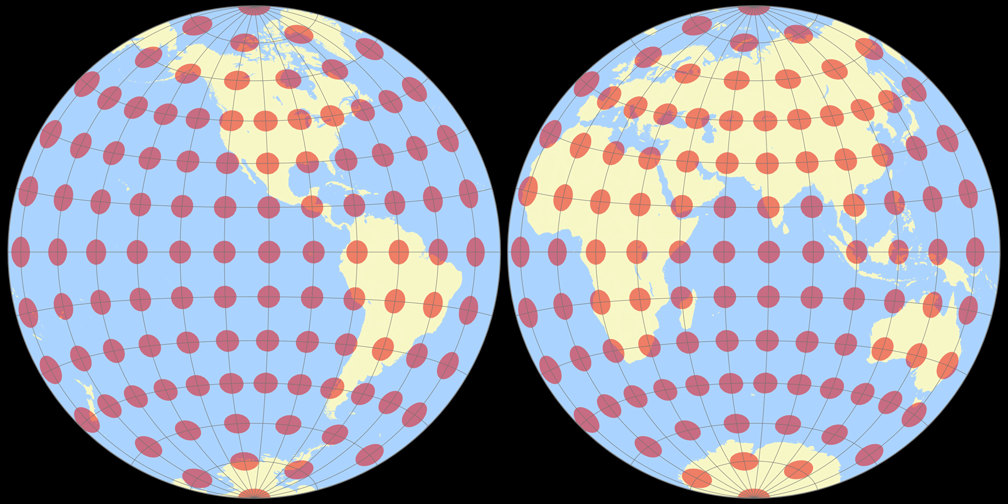
9. Comparison: Tissot Indicatrix, 15° – scaled to fit
Ginzburg I

Ginzburg II
10. Comparison: Tissot Indicatrix, 15° – scaled to same width
Ginzburg I
Ginzburg II